Home Assistant app
The Powercalc Measure app is the recommended way to run measurements on Home Assistant OS (amd64 and aarch64). Home Assistant Container and Core installations should use the CLI instead.
The app guides you through configuring, running, and reviewing measurements. It uses Home Assistant entities to control devices and can read power from a Home Assistant sensor or directly from a Shelly, Kasa, or Tapo plug. Home Assistant supplies authentication and Core API access, so you do not create or paste a long-lived access token.
- App settings: power meters, connection checks, and developer options.
- Measuring by device type: preparation and recording steps for each choice in the app.
- Results and sessions: GitHub contributions, resume, downloads, and backups.
- Measurement automations: notifications and flashing the measured lights.
- App troubleshooting: connection, calibration, and storage problems.
Availability and installation
- In Home Assistant, open Settings > Apps > App store.
- Open the app-store repository menu and add
https://github.com/bramstroker/powercalc-measure-app. - Find Powercalc Measure, select Install, and wait for the pre-built image to download.
- Start the app and select Open Web UI. Optionally enable Show in sidebar.
No port, host networking, Home Assistant configuration mapping, or API credentials are required. App installation is not available on non-Supervisor installation types.
Supported measurements
| Measurement | Home Assistant entity | Output |
|---|---|---|
| Light | light |
Brightness, color-temperature, HS, and effect LUT data with optional model.json |
| Smart speaker | media_player |
Linear volume calibration and optional model.json |
| Fan | fan |
Linear percentage calibration and optional model.json |
| Charging device | vacuum |
Battery-level charging calibration and optional model.json |
| Average | No controlled device required | Average power over a configured duration |
| Recorder | Optional tracked entities; guided vacuum and dock selection | Playbook CSV or entity-state recordings with experimental profile analysis |
See App settings for supported power meters and connection checks.
Direct Hue, Tuya, Tasmota and myStrom controllers or meters, OCR, and manual power entry remain CLI-only.
Measurement safety
The selected device is controlled automatically
A run may repeatedly change brightness, color, volume, or fan speed and can take hours. Charging measurements observe the device for an extended period. Do not use a safety-critical device. Avoid looking directly at high-output lights and take care with high speaker volume or moving equipment.
Keep people, automations, adaptive-lighting systems, and other controllers from changing the device during a run. Verify that the chosen power meter measures only the target load, and keep Home Assistant, the device, and the meter powered and reachable until completion.
Running a measurement
- Configure and test the measurement device in Settings.
- Open All sessions and select New measurement.
- Choose the type of device you want to measure. Search the list of PowerCalc device types if needed. Choose Free measurement for a single average reading or a Playbook CSV.
- If the device has several measurement methods, choose one. Lights go directly to the automated light measurement. Select the Home Assistant entity and enter measurement-specific options. Light measurements also let you choose the modes advertised by the selected entity. For loads too low for the meter, see Measuring low-power devices.
- Run the setup check and review its estimates, warnings, meter diagnostics, and timing settings. For lights without a dummy load, this checks representative low-load settings and standby, then leaves the lights off. Use Recheck setup after changing the physical setup. See Measuring low-power devices for check details and readings of
0W. - Start the session. Complete the dummy-load calibration or reuse confirmation when enabled. Review the ready screen's device-specific instructions, then press Start when the device is prepared.
- Follow live progress, current operating values, recent power samples, and session logs. You can close or reload the browser; the app owns the job and restores its persisted status when you return.
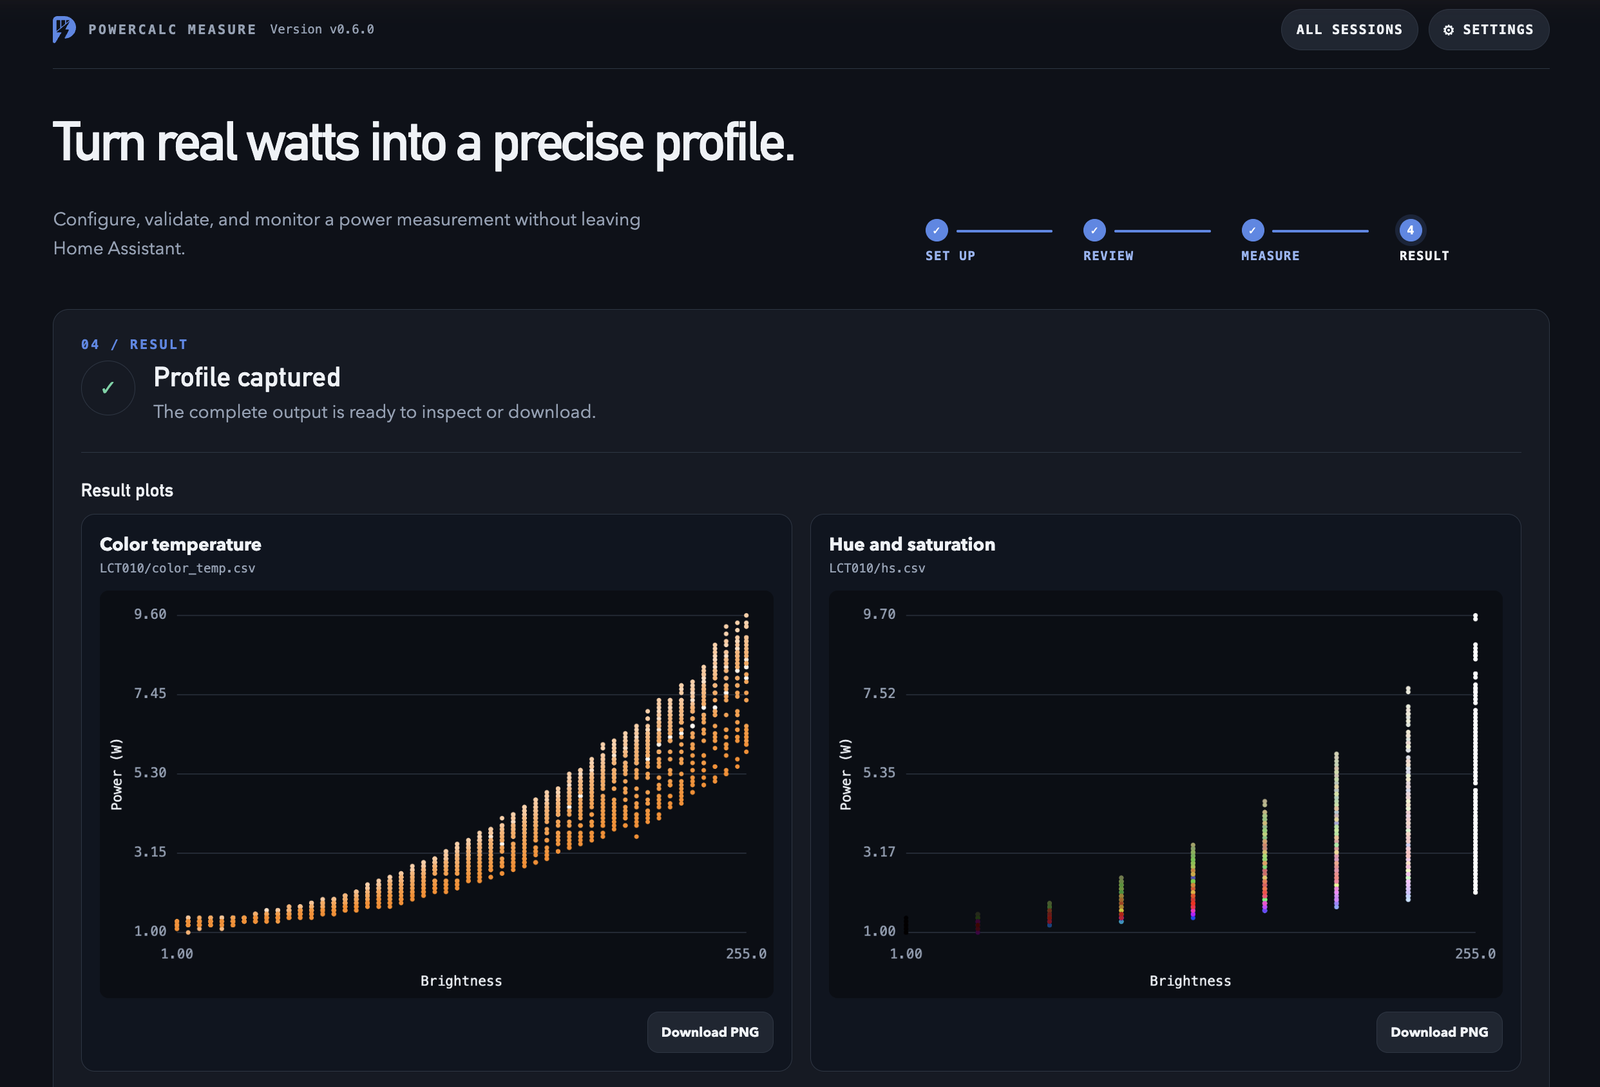
- Review plots and download generated CSV, model, or recording files from the result view. For generated profiles, follow Results and sessions to contribute through GitHub or download files for manual submission.
If standby could not be measured, the completed lookup tables are retained. See Standby recovery to finish the profile without repeating the measurement.
The PowerCalc logo and the All sessions action in the top bar return to the session dashboard. Only one measurement runs at a time; while one is active, its dashboard entry provides the monitor action and starting or resuming another session is disabled.
Recording a vacuum and dock
See Recording a vacuum and dock for entity selection, recording requirements, and experimental profile analysis.
Measure session status sensor
Powercalc exposes the app's current session state through sensor.measure_session_status. See Measurement automations for the sensor attributes and examples to notify your phone or flash the measured lights when a session completes.